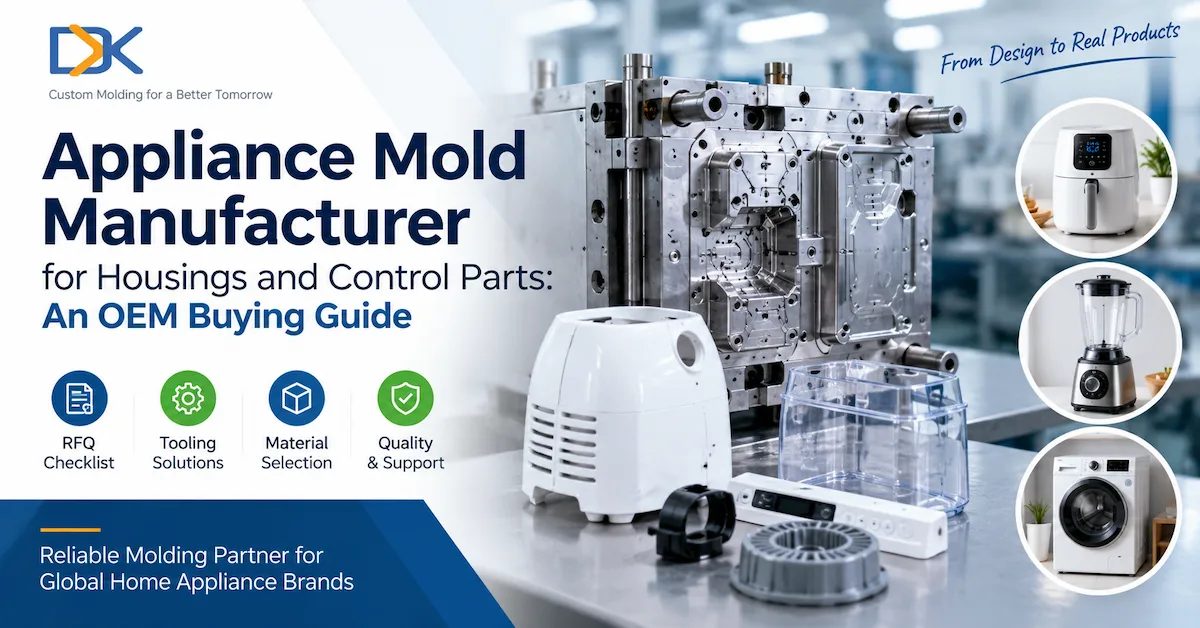
Choose an appliance mold manufacturer around the part you need to approve, not just the mold you need to buy. Ask for a drawing-based review, a tooling proposal with clear design choices, a trial plan and a clearly defined handover package. Those four items give engineering and purchasing something concrete to compare.
A quotation marked “ABS housing, one cavity, polished finish” is a starting point. It still leaves questions: Which ABS grade? Which surfaces will customers see? Who checks the assembled enclosure? Does the delivery date mean first samples or an approved tool?
This guide helps appliance OEMs turn those questions into a usable sourcing brief.
1. Start by Separating Tooling from Parts Production
Are you buying a mold for your own factory, or asking a supplier to deliver finished plastic parts?
For a tool-only order, define the receiving machine, mold interfaces, documentation and acceptance procedure. For a mold-and-parts order, add the production material, inspection requirements, packaging and repeat-order expectations. Put that distinction in the first paragraph of your inquiry.
At DX Molding, Shenzhen DongXin Technology Co., Ltd., our services cover custom plastic injection molds, molded plastic parts and related silicone tooling and components. Founded in 2007, we support OEM and ODM projects from design review through sampling and production.
Your appliance mold manufacturer should quote the defined project scope, not rely on a general capability statement.
2. Decide Whether Custom Appliance Tooling Fits Your Project
Before shortlisting a home appliance mold manufacturer, identify whether you need tooling for a new housing or control component, a replacement tool, or a repeat supply of custom molded parts.
The handover depends on who will run production. An injection molding factory needs a transferable tool. An appliance brand without molding equipment needs an agreed parts-production arrangement. A development team with an unfinished design needs decisions resolved before tooling starts.
Do not treat custom tooling as a catalog spare-part purchase. For a one-off prototype or an unsettled design, compare development options before committing to production tooling.
Likewise, ask for a specific equipment review for an unusually large part. The word “appliance” alone says nothing about whether a proposed mold will fit the intended molding machine.
3. Describe the Appliance’s Working Environment
Consider three hypothetical RFQs: an air-purifier cover, a blender control knob and a removable water-contact component. They belong to the same broad market, but they should not receive the same specification sheet.
For the cover, mark visible surfaces, panel gaps, grille details and mating components. For the knob, describe shaft engagement, permitted movement and operating feel. For the water-contact component, identify the liquid, exposure temperature, cleaning method and required validation.
Your appliance mold manufacturer also needs to know whether a component sits near a heater, carries an electrical function, encounters cleaning chemicals or must survive repeated removal.
Write these conditions into the project brief. Ask for the proposed material grade and supporting documentation to be reviewed against the actual application, rather than accepting a general description such as “heat-resistant plastic.”
“Used in a kitchen” is context. “Repeated hot-water cleaning, with these mating parts and this test requirement” is a specification.
4. Prepare an Appliance Mold RFQ That Suppliers Can Quote
An RFQ—a request for quotation—should separate confirmed requirements from decisions that still need engineering input.
Use this project specification checklist to prepare the inquiry. Complete the known fields and mark unresolved items for review.
| Specification | What to Provide or Confirm |
|---|---|
| Part definition | Current 3D model, revision-controlled 2D drawing and intended function |
| Production material | Resin manufacturer and grade, color, additives and permitted substitutions |
| Demand | First order, annual forecast, lifetime quantity and expected reorder batches |
| Critical dimensions | Functional tolerances, measurement references and mating-part information |
| Appearance | Visible areas, finish reference, color target and acceptable marks |
| Tool construction | Proposed steel, cavity count, runner system, inserts and wear components |
| Receiving equipment | Machine details and relevant mounting, ejection, cooling and control interfaces |
| Validation | Dimensional, appearance and assembly checks; application tests where required |
| Handover | Approved samples, drawings, trial records, spare-parts list and packing requirements |
For an appliance injection mold quotation, identify which requirements are fixed and which the supplier may challenge. A request for “best quality at lowest cost” gives neither party a useful decision rule.
DX Molding accepts drawings, samples, sketches, material requirements and quantity information for project review. Our custom molding services explain the available development and manufacturing support.
Send your current design for review and identify the decisions still open. A clear statement of what remains unresolved is more useful than a specification filled with assumptions.
5. Specify Material Grades and Mold Components Separately
ABS, PP, PC and nylon are among the material families listed for our custom plastic injection molding services. That list is a starting point for discussion, not an application approval.
Ask your appliance mold manufacturer to identify the proposed grade and the data supporting its use. A material description should address the actual requirement: appearance, loading, operating temperature, exposure and any required safety evaluation.
For an electrical housing, request the relevant material documentation and clarify the required rating, test conditions and acceptance criteria. Avoid replacing these details with an undefined claim such as “fireproof.”
Keep the resin decision separate from the tooling bill of materials. Our plastic injection mold options include P20, H13 and S136 steels, single- and multi-cavity configurations, and hot- or cold-runner systems. Ask why a proposed combination suits your project.
Also identify replaceable inserts, wear parts and proprietary components. Specify the documentation and spare parts you expect with the tool, rather than discovering those requirements at dispatch.
6. Resolve Visible Defects and Assembly Risks Before Machining
A useful design-for-manufacturing review—DFM—should show proposed changes on your part, with reasons. “Design checked” is not enough.
Start Behind the Visible Surface
Ribs and screw bosses can create locally thick sections. Review these areas for sink-mark risk, especially where an internal feature sits behind a visible appliance surface.
For a cover or control panel, mark those intersections before agreeing on the final finish. A surface requirement should be considered alongside the structure behind it.
Review Cooling and Fit Together
Uneven cooling can contribute to differential shrinkage, warpage and dimensional variation. Ask how the cooling layout relates to the areas where your cover, frame or lid must fit.
Our guide to precision mold design and dimensional control explains why finished-part dimensions depend on material behavior, mold design and processing conditions—not mold machining alone.
Confirm Where Manufacturing Marks Are Acceptable
Ask where the gate, parting line and ejector marks will be. Which faces are visible? Which edges touch the user? Which mating surfaces must remain clear?
Record the agreed locations in the design review. Do not wait until the first sample to explain that a particular face must be free from visible marks.
After design approval, DX Molding’s tooling workflow includes CNC and EDM machining, fitting and mold assembly. Ask how machined features, moving components and cooling connections will be checked before the first trial.
A competent appliance mold manufacturer should explain the trade-offs rather than accept every drawing note without discussion. Use simulation findings to guide the review, then confirm the agreed requirements through physical samples.
7. Approve a Trial Package, Not Just a Good-Looking Sample
Before the first trial, agree what evidence the appliance mold manufacturer will submit. Include identified samples, the drawing revision, material grade, relevant processing conditions, dimensional results and a record of open issues.
For appearance approval, define how parts will be viewed and compared. For assembly approval, use the relevant mating components or agreed fixtures.
Keep cosmetic approval and functional approval separate. One should not silently stand in for the other.
DX Molding’s mold trial and quality support includes trial reporting, dimensional inspection, process records and modification follow-up. Confirm which reports and checks are included in your project scope.
Keep certification and test documents equally specific. Identify what each document covers: a material, a molded component, a manufacturing process or the finished appliance. Ask your product-compliance team to confirm that the evidence matches the intended use and target market.
Before tool release, request an agreed production-representative run, not merely another selected sample. Define its duration, sample collection and acceptance criteria with the supplier.
8. Ask for Milestones and Project-Specific Capacity
“What is your lead time?” needs a second question: “Lead time to what?”
Ask the appliance mold manufacturer to distinguish design approval, tool manufacture, first trial, corrective work, approved samples and shipment. Include time for your own review and any externally arranged testing.
A first-trial date should not be presented as the production-release date.
For capacity, request a plan tied to the proposed mold and receiving machine. Review usable cavities, the assumed cycle, available production hours and allowances for setup and stoppages. Mark unvalidated assumptions clearly.
Ask whether the cycle estimate includes the complete sequence, including cooling, mold opening, part removal and any handling steps. Keep an estimated cycle separate from a cycle demonstrated during an agreed trial.
Ask us to confirm the schedule and equipment match for your drawing, rather than treating a preliminary estimate as a release commitment.
9. Compare Tooling Configurations Against Your Production Plan
The table below compares tooling configurations, not standard product models. Use it to question how a proposal matches your parts and forecast.
| Configuration | Potential Advantage | Main Trade-Off | Project Question |
|---|---|---|---|
| Single-cavity mold | One part cavity to qualify and maintain | One part per shot | Does the proposed output meet demand? |
| Multi-cavity mold for the same part | Several identical parts per shot | More cavities to balance, inspect and maintain | Is forecast demand sufficient, and is cavity output consistent? |
| Separate molds for related parts | Independent scheduling and design changes | Multiple tools to purchase and manage | Will the components have different order patterns or revisions? |
| Family mold for different parts | Different components produced in one shot | Filling, material compatibility and demand ratios need review | Can the parts run together without creating unwanted inventory? |
For repeated production of identical knobs, clips or other components, review the relationship between cavity count, filling balance and inspection requirements. Our multi-cavity mold guide examines these considerations in more detail.
Discuss family tooling separately rather than treating it as an automatic cost reduction. Ask what happens when one component needs a design change or a different reorder quantity.
Your appliance mold manufacturer should connect the recommendation to your forecast, material and validation plan. A higher cavity count is not an answer on its own.
10. Compare Appliance Mold Cost Over the Planned Quantity
Tool price and part price belong in the same comparison. Use comparable scope, material, delivery terms and quality assumptions.
Here is a hypothetical calculation, not DX Molding pricing.
Proposal A has a $14,000 tool and a $0.46 accepted-part price. Proposal B has a $20,000 tool and a $0.40 accepted-part price. All other costs are assumed equal and excluded.
The additional tooling investment is $6,000. The assumed saving is $0.06 per accepted part, giving a break-even quantity of:
$6,000 ÷ $0.06 = 100,000 accepted parts.
At 50,000 parts, A totals $37,000 and B totals $40,000. At 200,000 parts, A totals $106,000 and B totals $100,000. Under these assumptions, the preferred offer changes with quantity.
Use your own quotations for this exercise. Then examine excluded costs: changes, sample freight, testing, maintenance, packaging and transfer support.
Ask what happens commercially when a drawing changes or a sample fails an agreed criterion. Which corrections are included? Which changes require a new quotation? Who approves the additional work?
The cheapest appliance mold manufacturer on the quotation sheet is not necessarily the lower-cost option for your actual production plan.
11. Define OEM and ODM Responsibilities with DX Molding
For an OEM project with approved drawings, identify the controlled revision and the changes that need your authorization.
For an ODM project, agree who approves product appearance, mechanical design, prototypes and the move into tooling.
Our OEM and ODM development workflow runs from requirements review and DFM through quotation confirmation, mold design and manufacture, trial approval, production and delivery. It also includes development support for early concepts and prototypes.
Request named decision owners on both sides. Specify the process for approving changes, accepting samples and releasing production. Discuss confidentiality before sharing sensitive files, and document mold ownership, storage and transfer arrangements in the commercial agreement.
When evaluating an appliance mold manufacturer in China, use that written scope to compare offers—not assumptions about what “one-stop” includes.
For a product combining a plastic enclosure and a silicone component, submit the assembly context as well as the individual drawings. Identify the contact surfaces, assembly method and functional requirements for each component.
DX Molding’s plastic and silicone manufacturing scope provides a starting point for a coordinated review. Each component still needs its own confirmed requirements.
12. Send a Brief That Starts an Engineering Discussion
Ready to discuss an appliance mold project?
Send DX Molding your current drawing or sample details, the component’s function, preferred material, first-order quantity and annual forecast. Add the target milestone and the issue that concerns you most: appearance, fit, material choice or tooling cost.
State whether you need a tool delivered to your factory or a supply of molded parts.
No final CAD file yet? A sketch and reference photos can start the discussion. Identify what remains undecided so the review does not mistake a concept for an approved production design.
Request an Appliance Mold Project Review
Include your drawings, project requirements and open questions so the initial discussion can focus on feasibility, tooling scope and quotation inputs.
13. Frequently Asked Questions
1. What Should I Send an Appliance Mold Manufacturer for an Initial Quote?
Send the current drawing or sample details, intended function, material requirements and expected quantity. Identify appearance and assembly requirements, plus whether you are buying tooling alone or finished parts. Mark missing information instead of guessing it.
2. Can DX Molding Quote a Mold and Also Produce the Parts?
Yes. Our services include both custom plastic injection molds and molded plastic parts. Specify the arrangement you need; tooling delivery, sampling and ongoing production should be clearly separated in the proposal.
3. How Much Does an Appliance Injection Mold Cost?
A reliable project price requires a defined scope. Ask for the proposed construction, cavity arrangement, trials, inspection and delivery items to be identified. Compare the tool and accepted-part costs together rather than treating either figure in isolation.
4. How Long Does It Take to Make an Appliance Mold?
Request a schedule after design review. It should identify the start condition, first trial, correction allowance, sample approval and shipment. Do not use one quoted number interchangeably for first samples and an approved production tool.
5. Should I Choose a Single-Cavity or Multi-Cavity Mold?
Compare required output, machine compatibility, investment and validation effort. Multiple cavities require attention to filling balance and cavity-to-cavity results. Ask for the production assumptions behind the proposal, not just a larger number of parts per shot.
6. Can You Promise the Same Tolerance Across Every Appliance Part?
A blanket promise would not replace a drawing review. Identify functional dimensions, measurement conditions and acceptance methods. Agree on tolerances for the actual part and validate them on samples, rather than applying a general capability figure to every feature.
7. What Quality Documents Should I Request Before Approving the Mold?
Agree on the required dimensional report, appearance records, material identification, processing conditions and open-issue list. Add assembly or application-specific test records where needed. Identify who reviews each document and what constitutes approval.
8. Can a Mold Be Shipped to Our Own Injection Molding Factory?
Include that requirement in the RFQ. Supply the receiving-machine information and request confirmation of compatibility, trial conditions, drawings, settings, spare parts and startup support. Agree on the handover requirements before manufacture rather than at the shipping stage.
9. What Happens When We Change the Design After Tooling Begins?
Request a written change assessment covering affected features, cost, timing and revalidation. DX Molding’s mold modification support includes feasibility evaluation and follow-up. The actual commercial terms must be agreed for the project.
10. Can We Start Without Production-Ready Drawings?
Yes. DX Molding accepts early ideas, sketches and reference samples for initial review. Explain the product’s function and the decisions still open. That starts a development discussion; it does not make an unfinished concept ready for production tooling.
Conclusion
Choosing an appliance mold manufacturer starts with defining what a successful part and a successful handover look like. For housings, covers and control components, compare suppliers on their response to your drawing, material requirements, appearance standards, assembly conditions and production forecast—not tooling price alone.
Before placing an order, align the tooling proposal, trial plan, acceptance criteria and commercial responsibilities. A useful quotation should make those decisions visible, including the assumptions that still need confirmation.
To discuss your project with DX Molding, send your drawings and appliance molding requirements. Include the material, expected quantity and your main concern so the discussion can begin with the engineering and purchasing decisions that matter to your product.